Have you just bought a new car and want to protect its paint from rock chips, gravel and minor scratches? PPF installation is a smart way to protect your bodywork without changing its original look. But before you hand your vehicle over to a specialist, you may be wondering how a protective film is actually applied.
At Dr Tint in Montreal, we offer automotive protection films suited to a range of vehicles and needs. From bodywork preparation to digital cutting, discover the main steps of a professional installation and the precautions to know so you can get the most out of your protection on Quebec roads.
Why does professional PPF installation make all the difference?
PPF, or Paint Protection Film, is a clear film generally made of thermoplastic polyurethane. Applied to the painted surfaces of your vehicle, it forms a physical barrier that helps limit damage from small impacts, road debris and light rubbing.
However, the quality of the film alone doesn’t guarantee a satisfying result.
A professional application takes precision, proper preparation and a good understanding of each body’s particularities. A relatively flat hood doesn’t present the same challenges as a bumper with pronounced curves.
A careful installation aims for three essential results: good adhesion, coverage suited to the chosen surfaces, and a discreet finish that respects the vehicle’s lines.
PPF installation: the 6 usual steps of a professional application
Methods can vary depending on the vehicle, the surfaces to protect and the film you choose. Here are the main steps typically involved in a professional PPF installation.
Step 1: Determine the areas to protect
Before any installation, you need to choose which surfaces will receive the film.
At Dr Tint, we offer Armor PPF protection as well as XPEL solutions. The choice depends on your vehicle, your driving habits and the level of coverage you want.
Partial protection can target several particularly exposed areas:
- The front bumper, which takes a lot of road spray and debris.
- The hood, which is vulnerable to gravel chips.
- The front fenders and side mirrors.
- The headlights and rocker panels, depending on your needs.
- The trunk sill, which is exposed to scuffing when you load cargo.
More extensive protection can also be considered to cover additional body panels.
For example, if you drive Highway 40 every day or regularly cover long distances, you may want to favor greater coverage of the front surfaces.
Step 2: Examine the condition of the paint
Before applying a protective film, it’s important to assess the condition of the surfaces to be covered.
Even a recent vehicle can have contaminants, fine marks or small imperfections.
PPF is not a paint correction treatment. A deep scratch or an existing chip won’t disappear under the film.
Depending on the condition of the bodywork, some imperfections may require correction beforehand. This needs to be assessed before installation to determine the appropriate preparation.
Special attention is also needed when a panel has just been repainted. The paint must have cured enough before receiving a protective film, in line with the body shop’s recommendations.
This preliminary check helps determine whether the surfaces are ready for application.
Step 3: Carefully clean and prepare the bodywork
Clean surfaces play a decisive role in a PPF installation.
Before application, professional preparation involves removing dirt, greasy residue and contaminants that could compromise adhesion or remain visible under the film.
This preparation can include a thorough wash, decontamination suited to the condition of the paint, and a final cleaning of the surfaces involved.
Panel edges and contours deserve particular attention.
Picture a car that just drove through Montreal after a week of autumn rain. Even when it looks clean at first glance, particles can remain on some surfaces.
Rigorous preparation helps limit defects caused by contaminants trapped under the film.
Step 4: Use digital cutting tailored to the vehicle
This is one of the distinctive features of our service at Dr Tint.
Our technicians use digital cutting methods to produce film sections tailored to your vehicle’s model.
This technology makes it possible to prepare pieces that match the dimensions and shapes of the panels to be protected.
The bumper of an SUV, the hood of a sedan and the mirrors of a sports car all have different geometries.
Digital cutting therefore makes the film easier to fit and helps limit manual cutting directly on the bodywork.
The goal is precise protection with clean edges and an appearance that is as discreet as possible.
Step 5: Position and apply the protective film
Once the surfaces are prepared and the film sections are cut, it’s time for the actual application.
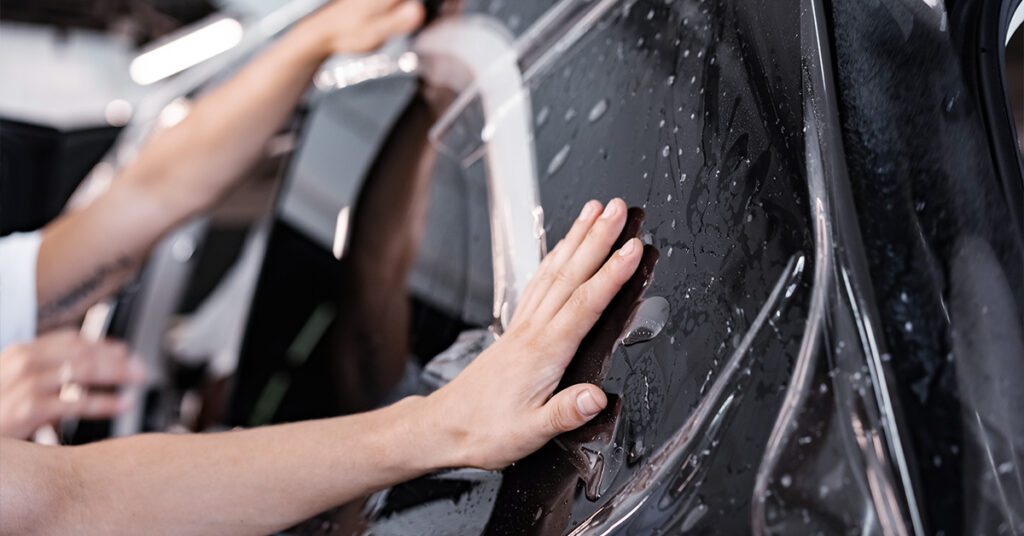
In a professional PPF installation, an application solution is generally used to make it easier to position the film on the bodywork.
The installer then adjusts the film so it follows the shape of the surface.
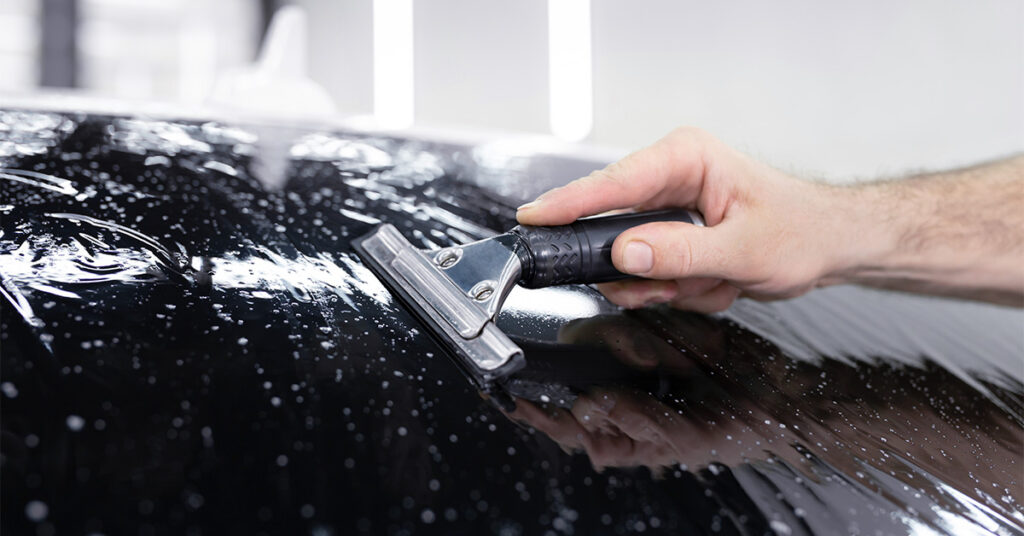
Using suitable tools, they gradually squeegee out the liquid and air trapped under the film.
This step calls for particular care around curves, angles and complex contours.
The tension applied to the film must be controlled to limit wrinkles, distortion or areas that could lift.
The goal is a film that is well aligned, properly applied and visually uniform.
Step 6: Complete the finishing touches and check the result
Installation is more than just positioning a clear sheet.
The finishing touches matter enormously in the final result.
A professional inspection checks the alignment of the different sections, the adhesion of the edges and any imperfections.
It’s also important to distinguish lasting defects from small traces of moisture that can sometimes appear right after installation and fade as the film settles.
The goal remains to preserve the vehicle’s original lines while adding discreet protection.
After PPF installation: the first 48 hours matter
Once the film is applied, a few precautions are necessary.
At Dr Tint, we recommend waiting 48 hours before washing your vehicle after installing Armor protective films, in summer and in winter alike.
This waiting period allows the film to settle.
During this time, avoid rubbing the surfaces, aiming a strong stream of water at the edges, or trying to fix a small imperfection yourself.
After that, stick to gentle washing with a non-abrasive car wash soap, a water rinse and clean accessories.
Also avoid harsh solvents and abrasive products.
A few good maintenance habits help preserve the appearance of your PPF through the seasons.
Dr Tint in Montreal: protection built for Quebec roads
In Montreal, a car’s bodywork has to deal with highly varied conditions.
Winter brings de-icing salt and abrasives. In spring, gravel and road debris can cause small impacts. In summer, insects and road residue build up on front surfaces.
Armor films provide extra protection against many of these common hazards.
They also come with a 10-year warranty against cracking and peeling, subject to the conditions that apply to the vehicle’s original owner.
That said, this protection doesn’t make a vehicle’s bodywork immune to collisions or major impacts.
Considering partial installation or more complete coverage?
Stop by Dr Tint at 11500 4th Avenue in Montreal, or contact our team at 514-645-5478. We can advise you on the available solutions and prepare a quote based on your vehicle and your needs.
FAQ – PPF installation
1. How long does a PPF installation take?
The duration depends on the vehicle model, the condition of its paint, the complexity of the surfaces and the extent of the protection you choose. Partial coverage and full protection don’t require the same amount of work. Contact Dr Tint for an estimate tailored to your project.
2. Can PPF be installed on a used car?
Yes. PPF can be applied to a new or used vehicle. However, the condition of the paint must be assessed before installation, because existing imperfections don’t disappear under the film.
3. Does PPF installation change the look of the car?
Clear films are designed to preserve the original appearance and color of the bodywork. A careful installation delivers a discreet finish, although some edges may remain slightly noticeable.
4. When can you wash your vehicle after PPF installation?
At Dr Tint, we recommend waiting at least 48 hours after installing Armor protective films. After that, use a mild soap and avoid abrasive products as well as high-pressure sprays aimed directly at the edges.
5. Is it better to get partial or full PPF coverage?
It depends on your needs. Partial protection targets the most exposed areas, such as the hood, bumper and mirrors. More complete protection covers more surfaces and suits drivers who want to preserve a larger share of their bodywork. Our team can help you choose the right solution.